
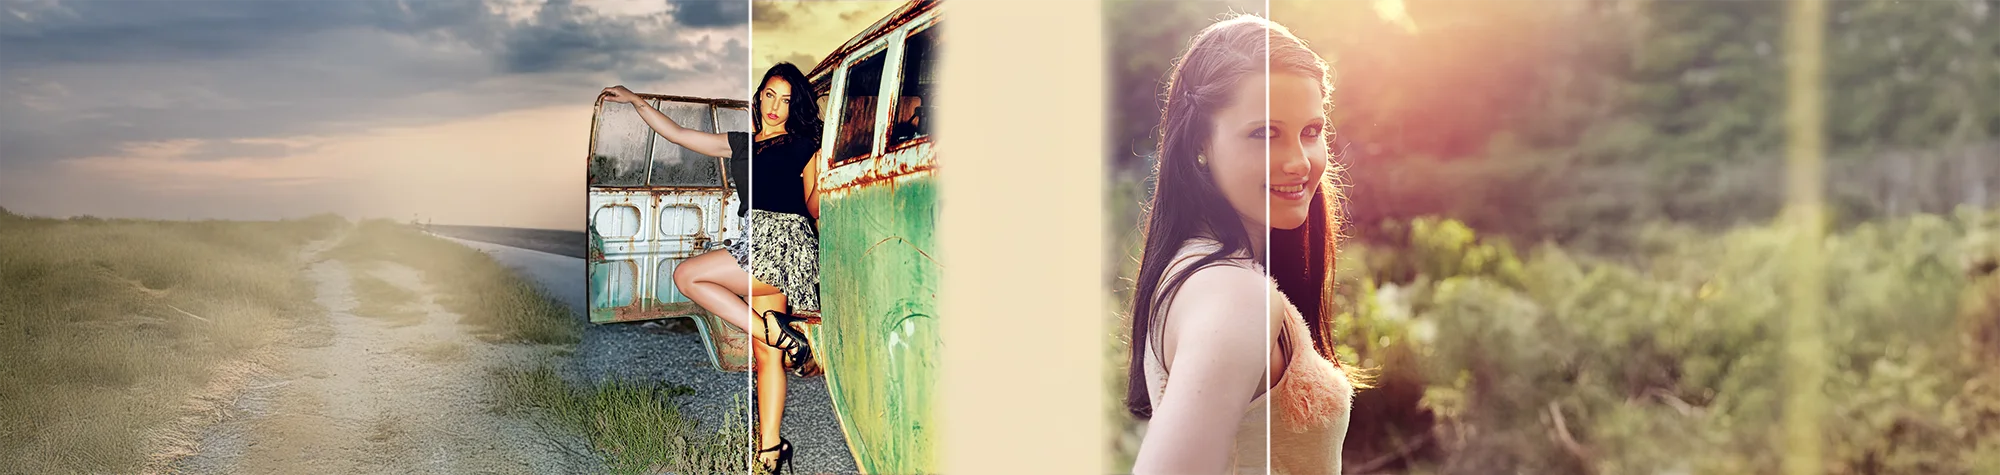
Cross Processing Photoshop Tutorial
Give your photos a stylish vintage or retro look with a cross processing effect in Photoshop. This technique allows you to adjust colors, tones, and styles to make your images stand out and look professionally edited.
In this tutorial, you will learn how to apply and customize cross processing effects, creating unique, eye-catching photos every time.
Watch the Cross Processing Photoshop Tutorial
Watch the full tutorial below to see how to create a cross processing effect step by step.
What You’ll Learn in This Tutorial
In this lesson, you will learn how to:
-
Apply a cross processing effect in Photoshop
-
Adjust colors, tones, and contrast for a retro look
-
Customize styles for unique photo effects
-
Create vintage, professional-looking images
Who This Tutorial Is For
This tutorial is perfect for:
-
Photoshop beginners and intermediates
-
Photographers creating retro or vintage effects
-
Designers adding unique color grading
-
Anyone wanting standout, creative photos
Creative Uses for Cross Processing
This effect works well for:
-
Vintage portraits and landscapes
-
Retro-style social media content
-
Artistic photography projects
-
Marketing and creative design projects
Professional Photoshop Editing Services
If you want professionally applied cross processing effects or custom photo edits, I offer services for personal and commercial projects.
Attribution and Licensing
CC BY 2.0/EF Photography: https://www.flickr.com/photos/fraz5356/4935480193/sizes/l
CC BY-SA 2.0/Chantal Kreth: https://www.flickr.com/photos/yuckfa/7249889800/sizes/l
CC BY 2.0/Maks Karochkin: https://www.flickr.com/photos/karochkin/3525118932/sizes/l
End Music: Wallpaper Kevin MacLeod (incompetech.com). Licensed under Creative Commons: By Attribution 3.0 License http://creativecommons.org/licenses/by/3.0/
Subscribe for More Photoshop Tutorials
Subscribe to my YouTube channel for more Photoshop tutorials, retro effects, and professional editing tips.