
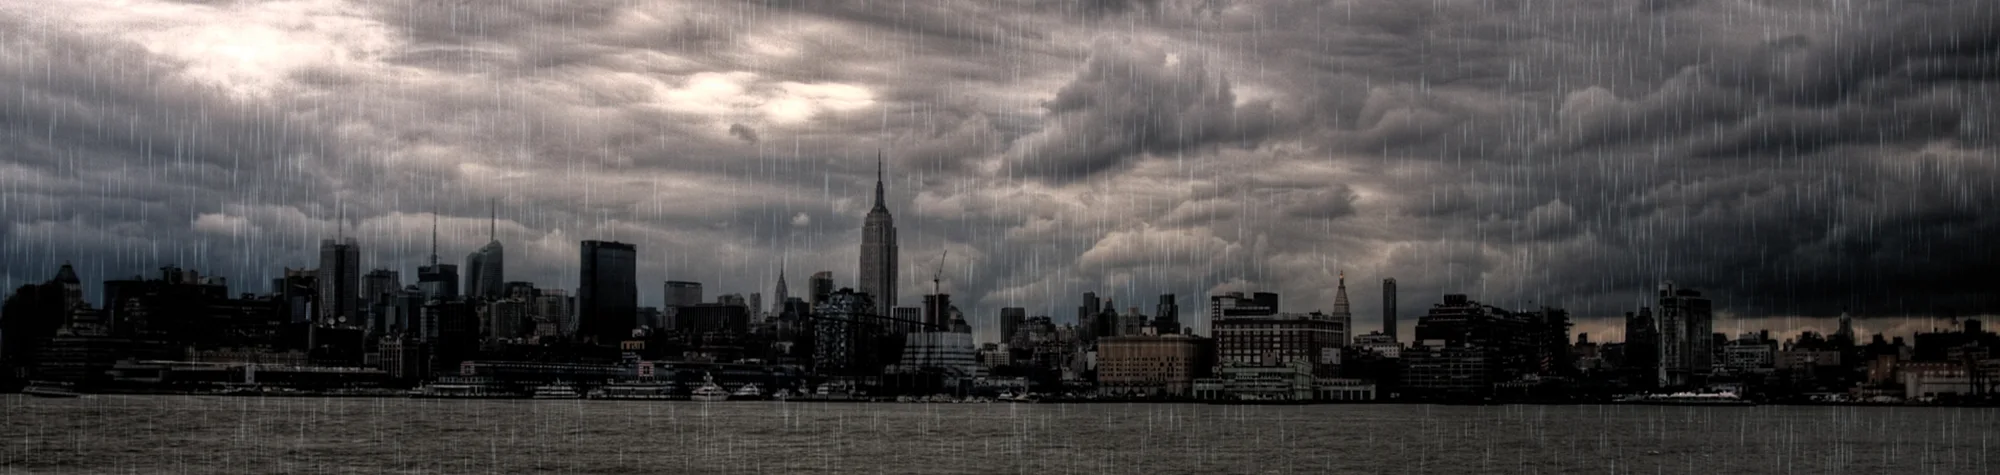
Rain Effect Photoshop Tutorial
Rain effects can instantly add mood and drama to landscape photos. In this Photoshop tutorial, you will learn how to create a realistic rain effect using a custom rain brush.
By customising the brush settings, you can control the size, direction, and intensity of the rain. This gives you complete creative control and lets you build anything from light rainfall to a full storm, without standing out in the rain.
Watch the Rain Effect Photoshop Tutorial
Watch the full tutorial below to learn how to add realistic rain to photos in Photoshop step by step.
What You Need Before You Start
To follow this tutorial, you will need:
-
Adobe Photoshop
-
A landscape or outdoor photo
-
Basic understanding of brushes and layers
This tutorial suits beginners and intermediate users.
Creative Uses for Rain Effects
Rain effects work well for:
-
Dramatic landscape photography
-
Cinematic photo edits
-
Concept artwork
-
Weather-based compositions
Who This Tutorial Is For
This tutorial is ideal for:
-
Photographers
-
Photoshop beginners
-
Digital artists
-
Anyone creating dramatic photo effects
Professional Photoshop Editing Services
If you need custom weather effects or professional Photoshop editing, I offer Photoshop editing services for creative and commercial projects.
Attribution and Licensing
Creative Commons CC BY-NC 2.0/Bob Jagendorf: https://www.flickr.com/photos/bobjagendorf/3658425353/sizes/l
End Music: Wallpaper Kevin MacLeod (incompetech.com). Licensed under Creative Commons: By Attribution 3.0 License http://creativecommons.org/licenses/by/3.0/
Subscribe for More Photoshop Tutorials
Subscribe to my YouTube channel for more Photoshop tutorials, photo effects, and professional editing techniques.