
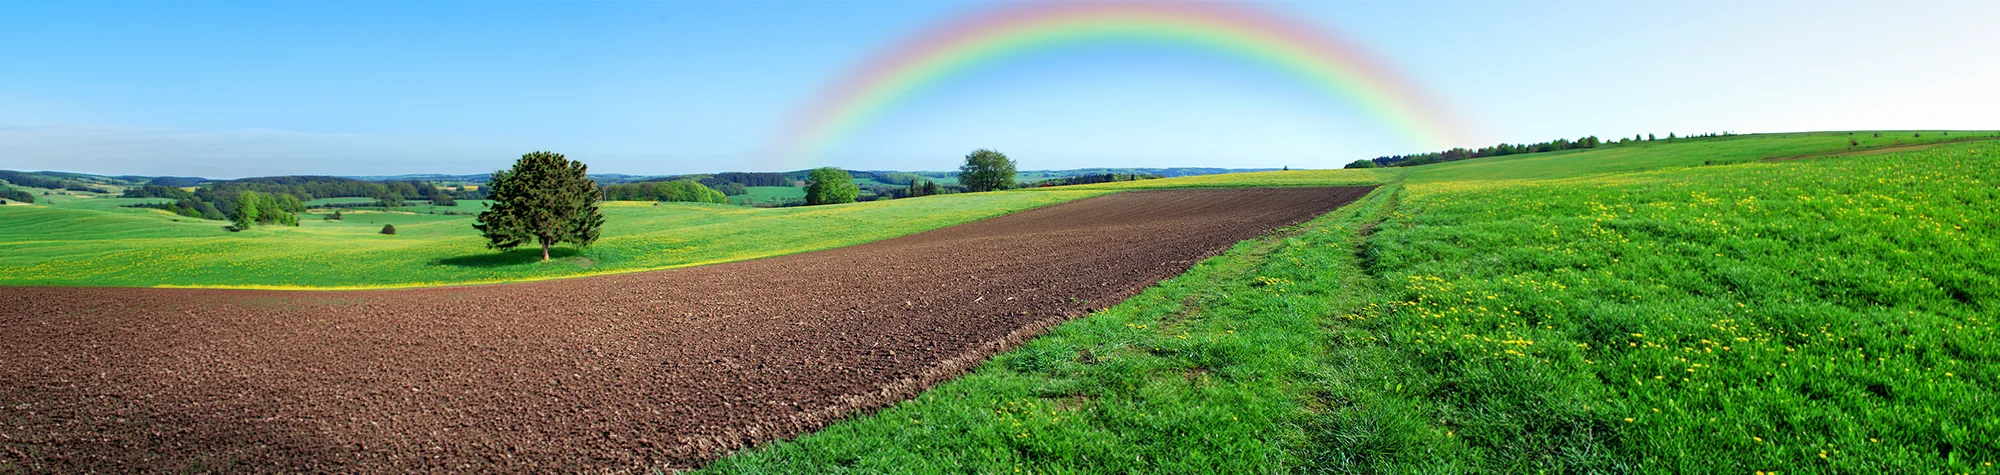
Add a Realistic Rainbow in Photoshop
Sometimes a landscape photo looks great but still feels like it’s missing something. Adding a rainbow can instantly bring colour, mood, and atmosphere to an image when it’s done realistically.
In this tutorial, you’ll learn how to add a realistic rainbow in Photoshop using simple techniques that blend naturally into your landscape. Once you understand the process, you can enhance any outdoor photo with subtle or dramatic colour.
Watch the Rainbow Photoshop Tutorial
Watch the full tutorial below to see how to create and apply a realistic rainbow step by step.
What You’ll Learn in This Tutorial
In this lesson, you will learn how to:
-
Add a realistic rainbow to landscape photos
-
Blend the rainbow naturally into the sky
-
Control opacity, colour strength, and placement
-
Match lighting and atmosphere for realism
-
Enhance landscapes without over-editing
Who This Tutorial Is For
This tutorial is perfect for:
-
Photoshop beginners
-
Landscape photographers
-
Photo editors
-
Anyone enhancing outdoor photos
Where You Can Use This Effect
Rainbow effects work great for:
-
Landscape photography
-
Travel photos
-
Wall art and prints
-
Social media images
-
Creative photo projects
Professional Photoshop Editing Services
If you want professionally edited landscape photos or realistic photo effects added to your images, I offer Photoshop editing services for individuals and businesses.
Attribution and Licensing
freeimages.com/Alfred Borchard: http://www.freeimages.com/photo/1387902
Some images are used under the SXC License
Background Music: Sovereign Kevin MacLeod (incompetech.com). Licensed under Creative Commons: By Attribution 3.0 License http://creativecommons.org/licenses/by/3.0/
Subscribe for More Photoshop Tutorials
Subscribe to my YouTube channel for more Photoshop tutorials, creative photo effects, and professional editing tips.