
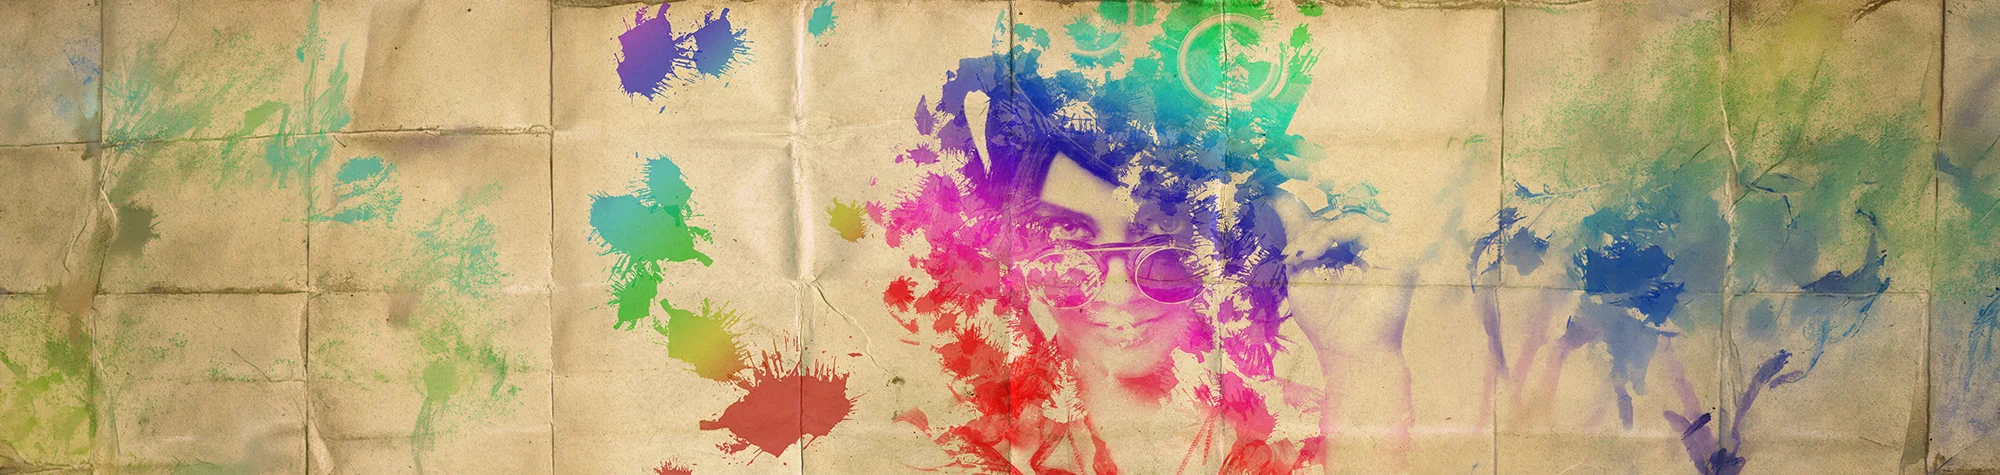
Watercolour Effect Photoshop Tutorial – Step-by-Step Guide
Creating a watercolour painting by hand can take hours, but with Photoshop you can achieve a realistic watercolour effect in just minutes. In this Photoshop tutorial, you’ll learn how to turn your photos into a watercolour-style painting using textured paper backgrounds and brush effects.
This technique is quick, beginner-friendly, and produces creative results that work well for artwork, prints, and digital designs.
Watch the Watercolour Effect Photoshop Tutorial
Watch the full video tutorial below to see how to turn a photo into a watercolour painting in Photoshop step by step.
What You Need Before You Start
Before creating the watercolour effect in Photoshop, make sure you have:
-
Adobe Photoshop installed
-
A photo you want to convert into a painting
-
Textured paper images or brushes
-
Basic understanding of layers and blending modes
No advanced Photoshop experience is required.
Tips for Better Watercolour Results
-
Use high-resolution textures
-
Avoid over-processing the image
-
Experiment with different brush styles
-
Keep colours soft for a natural look
Small refinements can make the effect feel more realistic.
Who This Tutorial Is For
This Photoshop tutorial is ideal for:
-
Beginners exploring creative Photoshop effects
-
Artists experimenting with digital painting styles
-
Designers creating unique artwork
-
Anyone wanting to turn photos into paintings
Need a Professional Watercolour Edit?
If you’d like a professionally created watercolour effect or need custom Photoshop editing, I offer professional Photoshop services. Contact me to discuss your project or request a custom quote.
Attribution and Licensing
Subscribe for More Photoshop Tutorials
Subscribe to my YouTube channel for more Photoshop tutorials, creative effects, and professional editing techniques.