
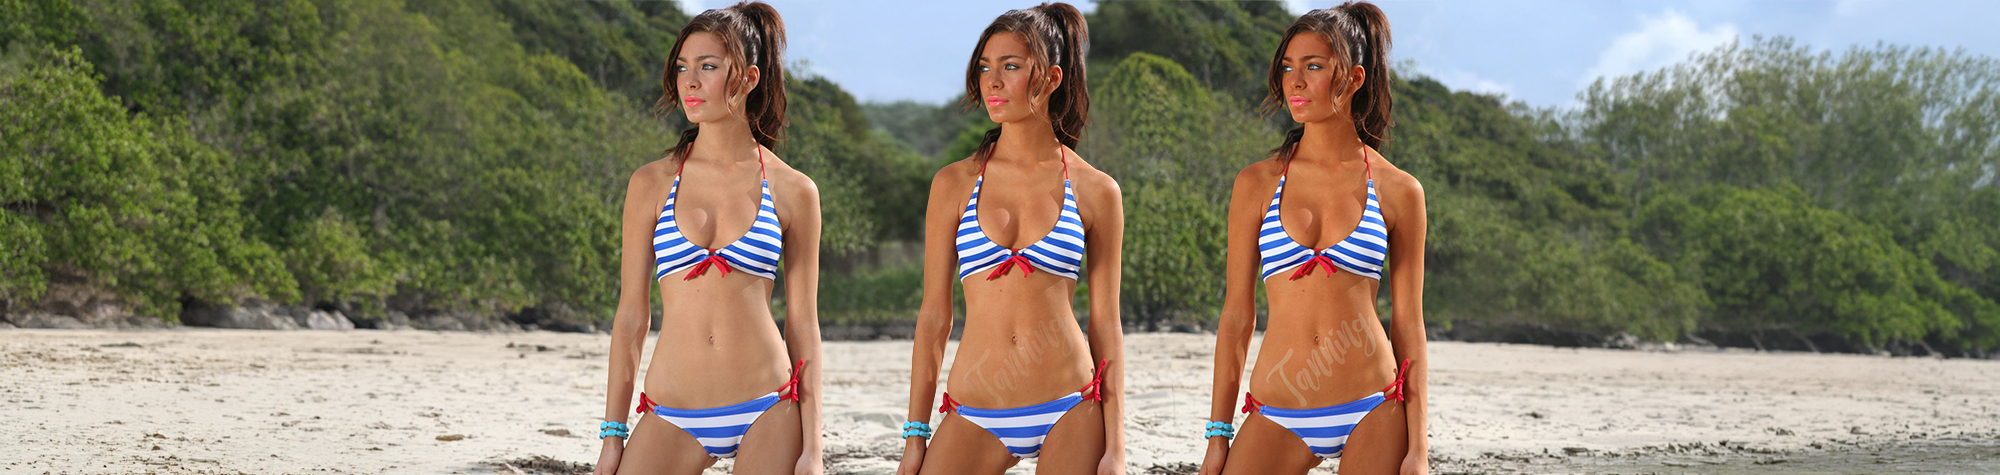
Add a Tan in Photoshop
In this tutorial, you’ll learn how to give someone a natural-looking tan in Adobe Photoshop.
This technique allows you to enhance skin tones and create a healthy, sun-kissed look without making the skin appear orange or over-processed. The method works on most images and is quick to apply once you understand the steps.
You can use this effect on portraits, holiday photos, and lifestyle images to give your photos a warm, polished finish.
Watch the Tan Photoshop Tutorial
Watch the full tutorial below to see how to add a realistic tan in Photoshop step by step.
What You’ll Learn in This Tutorial
In this tutorial, you will learn how to:
-
Add a natural tan in Photoshop
-
Enhance skin tones without damaging detail
-
Control colour intensity for realistic results
-
Apply the effect to portraits and lifestyle photos
-
Adjust the tan to suit different skin tones
Who This Tutorial Is For
This tutorial is perfect for:
-
Photoshop beginners
-
Portrait photographers
-
Photo retouchers
-
Social media creators
-
Anyone editing skin tones
Where You Can Use This Effect
The tan effect works great for:
-
Holiday photos
-
Portrait photography
-
Fashion and lifestyle images
-
Social media content
-
Personal photo retouching
Professional Photoshop Editing Services
If you’d like professional portrait retouching or custom skin tone adjustments, I offer Photoshop editing services for individuals and businesses.
Attribution and Licensing
freeimages.com/Summer Fisher: http://www.freeimages.com/photo/976357
Background Music: Sovereign Kevin MacLeod (incompetech.com). Licensed under Creative Commons: By Attribution 3.0 License http://creativecommons.org/licenses/by/3.0/
Subscribe for More Photoshop Tutorials
Subscribe to my YouTube channel for more Photoshop tutorials, photo retouching tips, and professional editing techniques.