
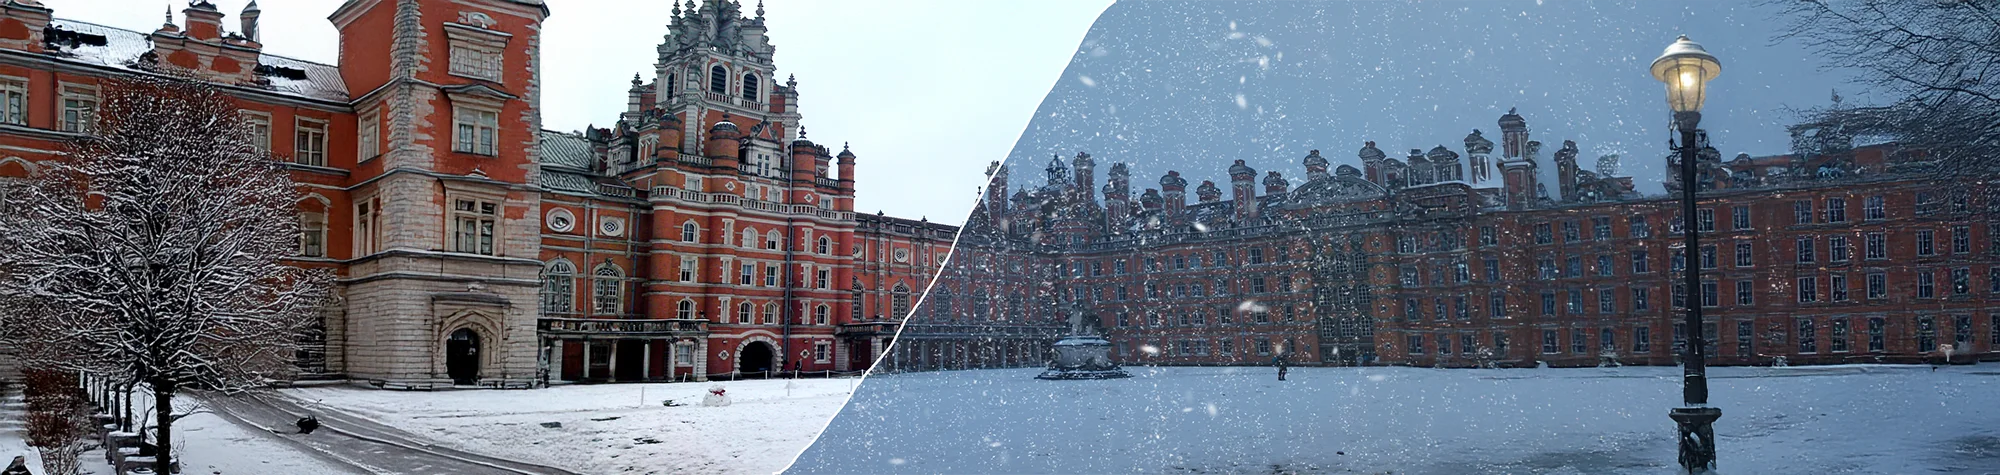
How to Add Snow in Photoshop
Snow can instantly give photos a festive and wintery feel. In this Photoshop tutorial, you will learn how to add realistic falling snow to your images using a simple custom snow brush.
This technique allows you to place snow exactly where you want it and control the size, density, and intensity. It works perfectly for Christmas photos, winter scenes, and seasonal designs.
Watch the Add Snow Photoshop Tutorial
Watch the full tutorial below to learn how to add falling snow to photos in Photoshop step by step.
What You Need Before You Start
To follow this tutorial, you will need:
-
Adobe Photoshop
-
A photo to edit
-
Basic understanding of brushes and layers
This tutorial suits beginners and intermediate users.
Creative Uses for Snow Effects
Snow effects work well for:
-
Christmas photos
-
Winter landscapes
-
Seasonal marketing graphics
-
Festive social media posts
Who This Tutorial Is For
This tutorial is ideal for:
-
Photoshop beginners
-
Photographers
-
Designers creating seasonal visuals
-
Anyone adding winter effects to photos
Professional Photo Editing Services
If you need custom winter effects or professional photo editing, I offer Photoshop editing services for personal and commercial projects.
Attribution and Licensing
Creative Commons CC BY-SA 2.0/Ashley Coates: https://www.flickr.com/photos/ashleycoates/6066863664/sizes/l
End Music: Wallpaper Kevin MacLeod (incompetech.com). Licensed under Creative Commons: By Attribution 3.0 License http://creativecommons.org/licenses/by/3.0/
Subscribe for More Photoshop Tutorials
Subscribe to my YouTube channel for more Photoshop tutorials, seasonal effects, and professional editing techniques.